This Instant Pot Whole Wheat Bread is crispy on the outside, chewy on the inside, with just the right amount of nuttiness. Proofing in the Instant Pot saves you hours and hours of time and there’s no kneading involved!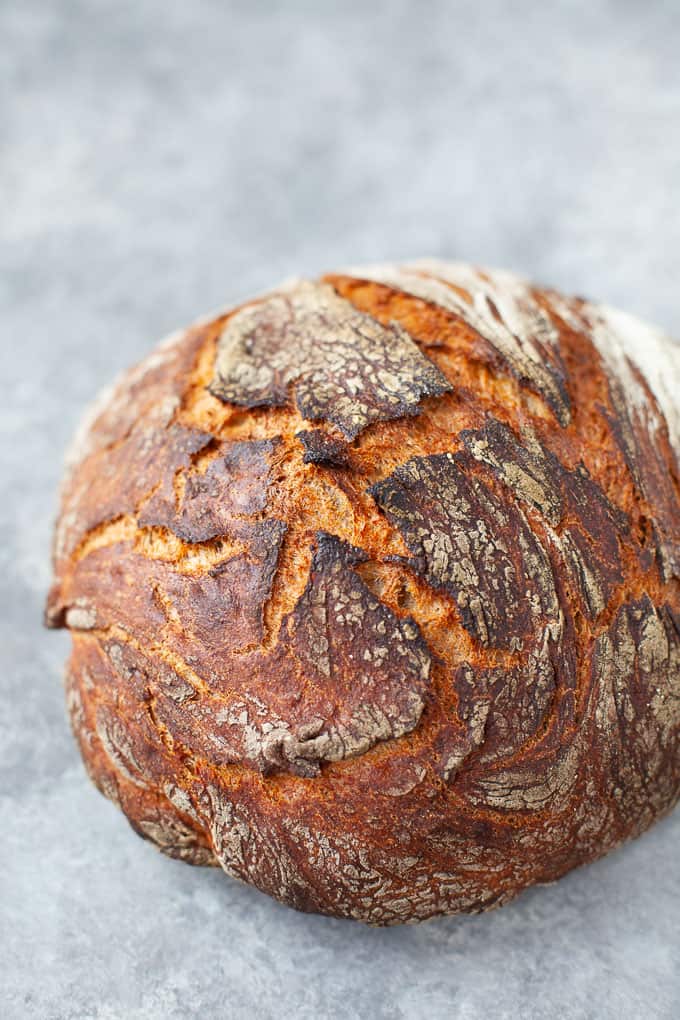 Last summer I got in the habit of making bread. It was during my concussion recovery when I was trying to find relaxing things to do to fill my time while I was limiting screen time. I came across a whole grain bread recipe in Edible Boston and appreciated that the recipe developer noted that the recipe was very forgiving (because I’m the girl who killed her sourdough culture years before).
I was obsessed with this recipe. Made it every Saturday morning (let it rise all day and overnight and then baked it on Sunday. It was a commitment for sure but since I didn’t have much else going on it seemed worth it. Fast-forward six months and life got crazy again. I was working at full capacity, traveling, holidays, life, etc. and my beloved bread took a back seat.
After I made my Instant Pot Raisin Bread (and after I realized so many of you were looking for IP bread recipes!), I decided I would try to recreate a similar whole-wheat version using my Instant Pot so that I could bake bread and not have it be a 2-day event. For those of you who are wondering how in the heck do you bake bread in the IP?! You don’t :). The bread is still baked in the oven but you can proof the bread (let it get all warm and cozy so it can rise) in the Instant Pot using the yogurt function in just three hours vs. overnight. And this way you can leave all the warm blankets in your linen closet lol.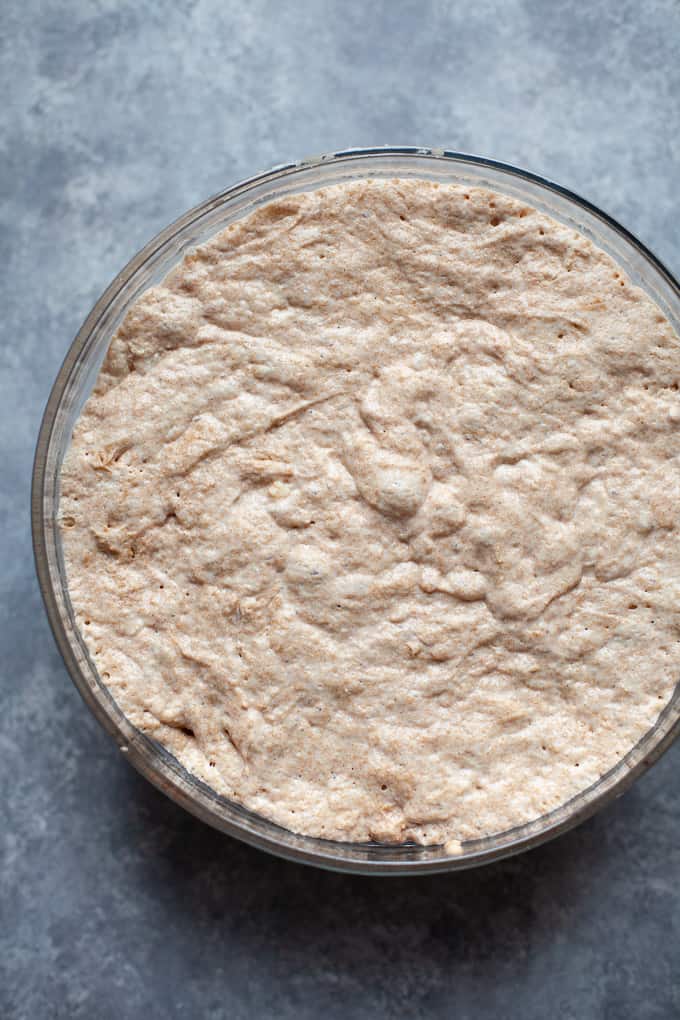 Still not clear on proofing? You’re basically allowing the yeast in the bread time to ferment – this creates gas bubbles and causes the dough to inflate or rise. This fermentation process results in a crispy on the outside, chewy on the inside loaf of bread. Also, because this bread proofs in the Instant Pot, you don’t need to worry about kneading the heck out of the loaf! One less step? Yes, please!
 And I’m happy to report that with a couple tweaks and a second test, this recipe came out PERFECTLY. This bread is super crispy on the outside and chewy on the inside with nooks and crannies to soak up whatever it is you’re serving up. I used about a 60:30 ratio of whole-wheat flour to bread flour. I tried this recipe with 100% whole-wheat flour but it was dense and the texture wasn’t right. I love this ratio because it gives the best texture with the nuttiness of whole-wheat that I love. And as an added bonus, it’s packed with fiber, which helps with satiety and digestion.
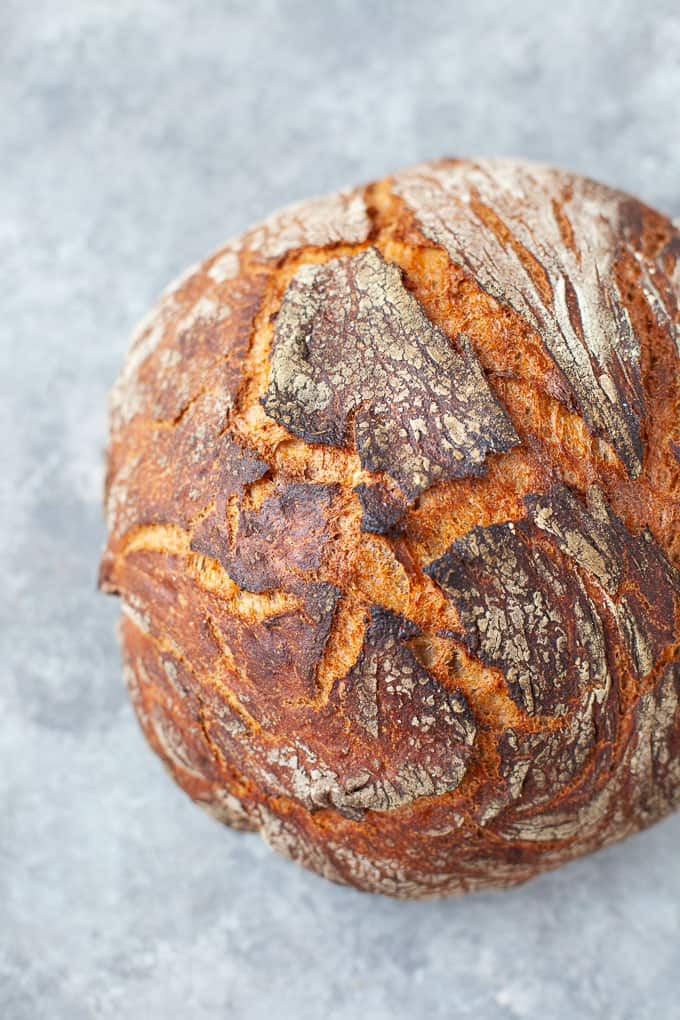 This bread is a perfect accompaniment to my eggs in the morning or slathered with peanut butter or avocado for an afternoon snack. It also pairs nicely with a salad for lunch to sop up that extra balsamic and olive oil left on the plate :).
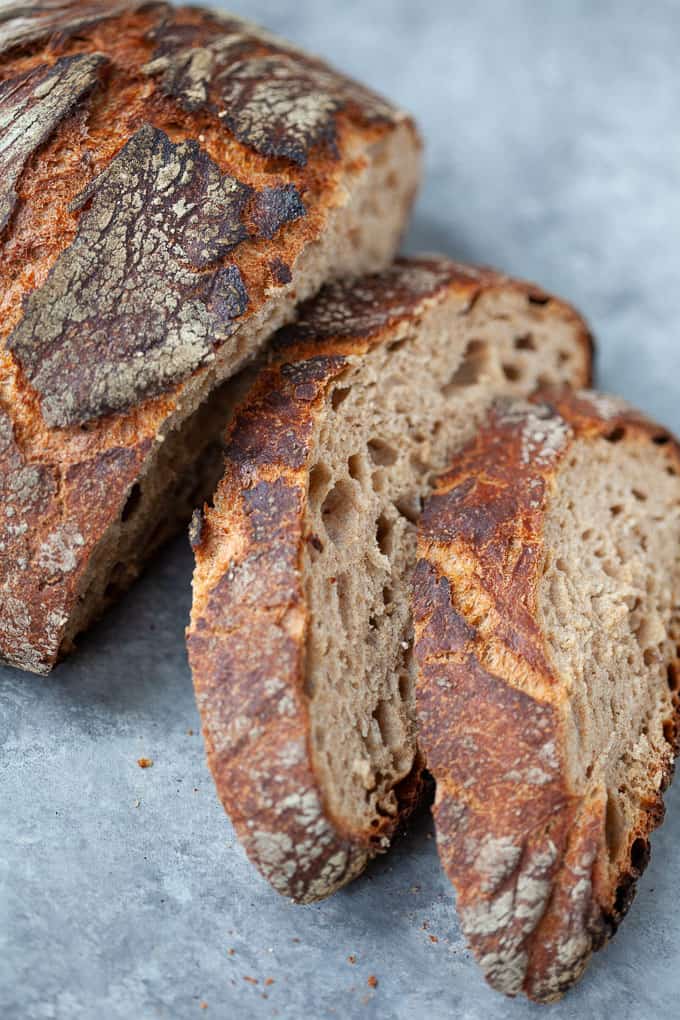 This loaf of bread is definitely superior in taste to anything you’d find in the grocery store but it’s important to be realistic that sliced bread from the grocery store is still going to serve a purpose. We always have sliced bread in our fridge or freezer and if I have the time to make this loaf, great, if not, we’ve still got options. But now that I’m writing about this recipe, my Saturday plans just got a lot clearer ;).
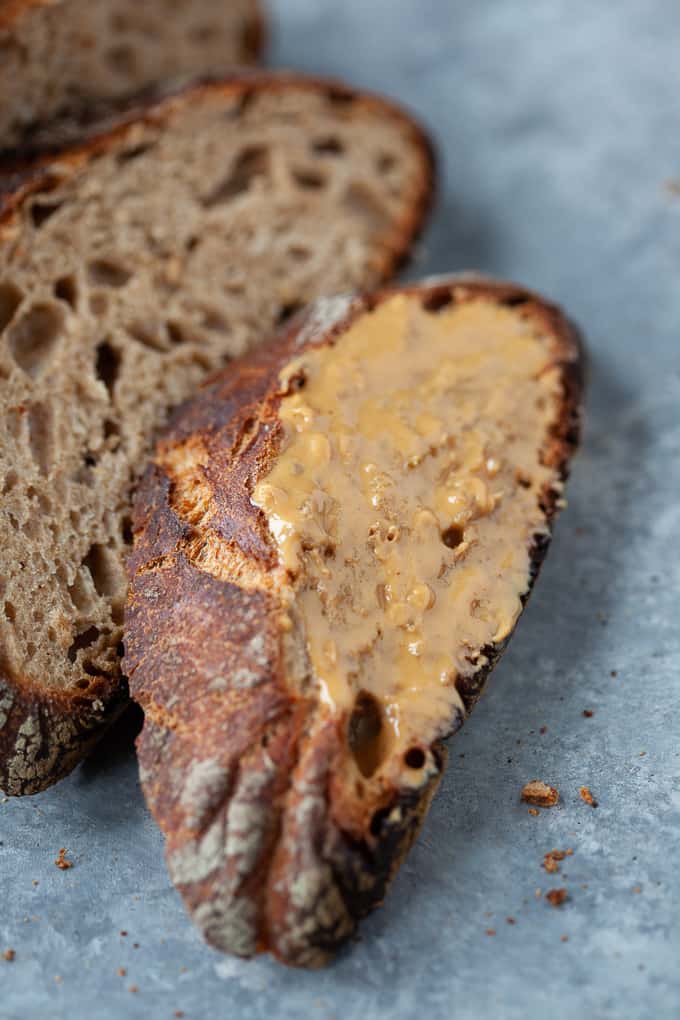 If you haven’t tried proofing bread in the Instant Pot yet, this is the recipe to try it with! It’s seriously one of my favorite loafs yet!
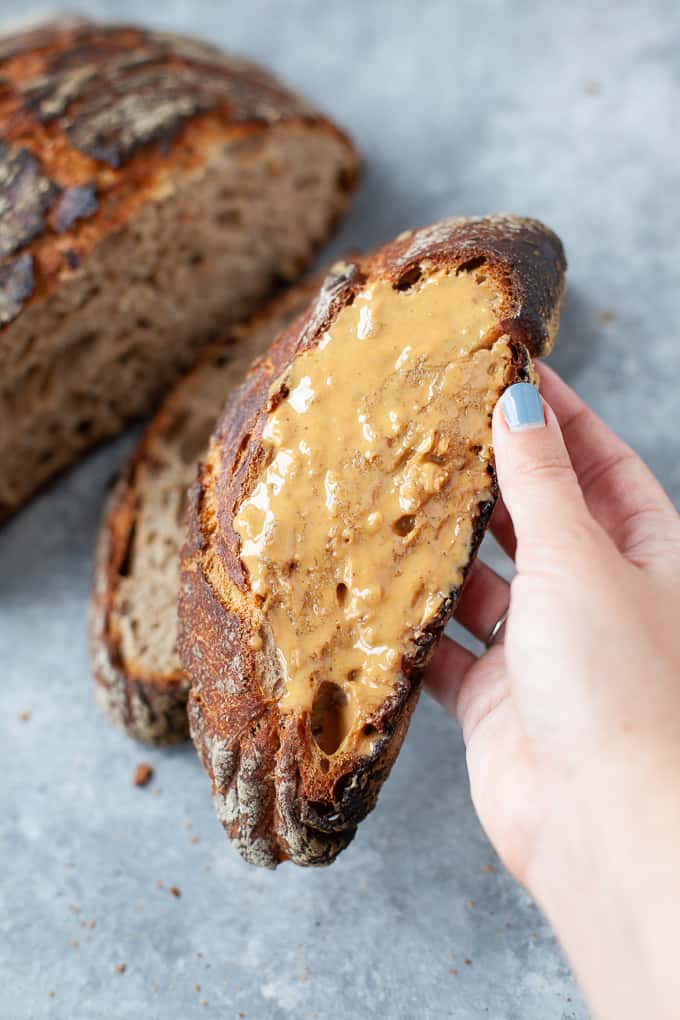

Instant Pot Whole Wheat Bread (No Knead!)
- Total Time: 4 hours 35 minutes
- Yield: 1 loaf
Ingredients
- 2 cups warm water
- 1/2 teaspoon active dry yeast
- 2 tablespoons honey
- 2 1/2 cups whole-wheat flour
- 1 1/2 cups bread flour
- 1 tablespoon salt
- 1 tablespoon cornmeal
Instructions
- In a medium-large bowl, stir together water, yeast and honey and let sit until foamy, about 3-5 minutes.
- Add whole-wheat flour, bread flour and salt and stir until a ragged dough forms.
- Spray the pot of the Instant Pot with cooking spray and place dough inside of pot.
- Close lid and set to yogurt function for 3 1/2 hours.
- Preheat oven to 475 degrees F and place lidded dutch oven inside.
- Pour out the dough onto a well-floured surface and using a spatula fold the edges over like an envelope, being careful not to work the dough too much. Turn the dough over and, working quickly, shape it into a ball by rotating it with your well-floured hands. Flour the top and bottom of the load and cover with a floured towel until oven is preheated.
- Remove the dutch oven from the oven and take off the lid. Sprinkle cornmeal onto the bottom of the pot. Lift the dough with a spatula and your hands and quickly drop it into the pot. Using a sharp knife, make a few long slashes through the top of the dough to allow steam to escape. Place the lid back on the pot and return it to the oven.
- Bake, covered, for 30 minutes. Remove the lid and bake for an additional 15-20 minutes, or until deeply browned and cracked on the top.
- Remove bread from the pot and set on a wire rack to cool before serving.
- Prep Time: 3 hours 45 minutes
- Cook Time: 50 minutes
- Category: Bread
- Method: Baking, Instant Pot
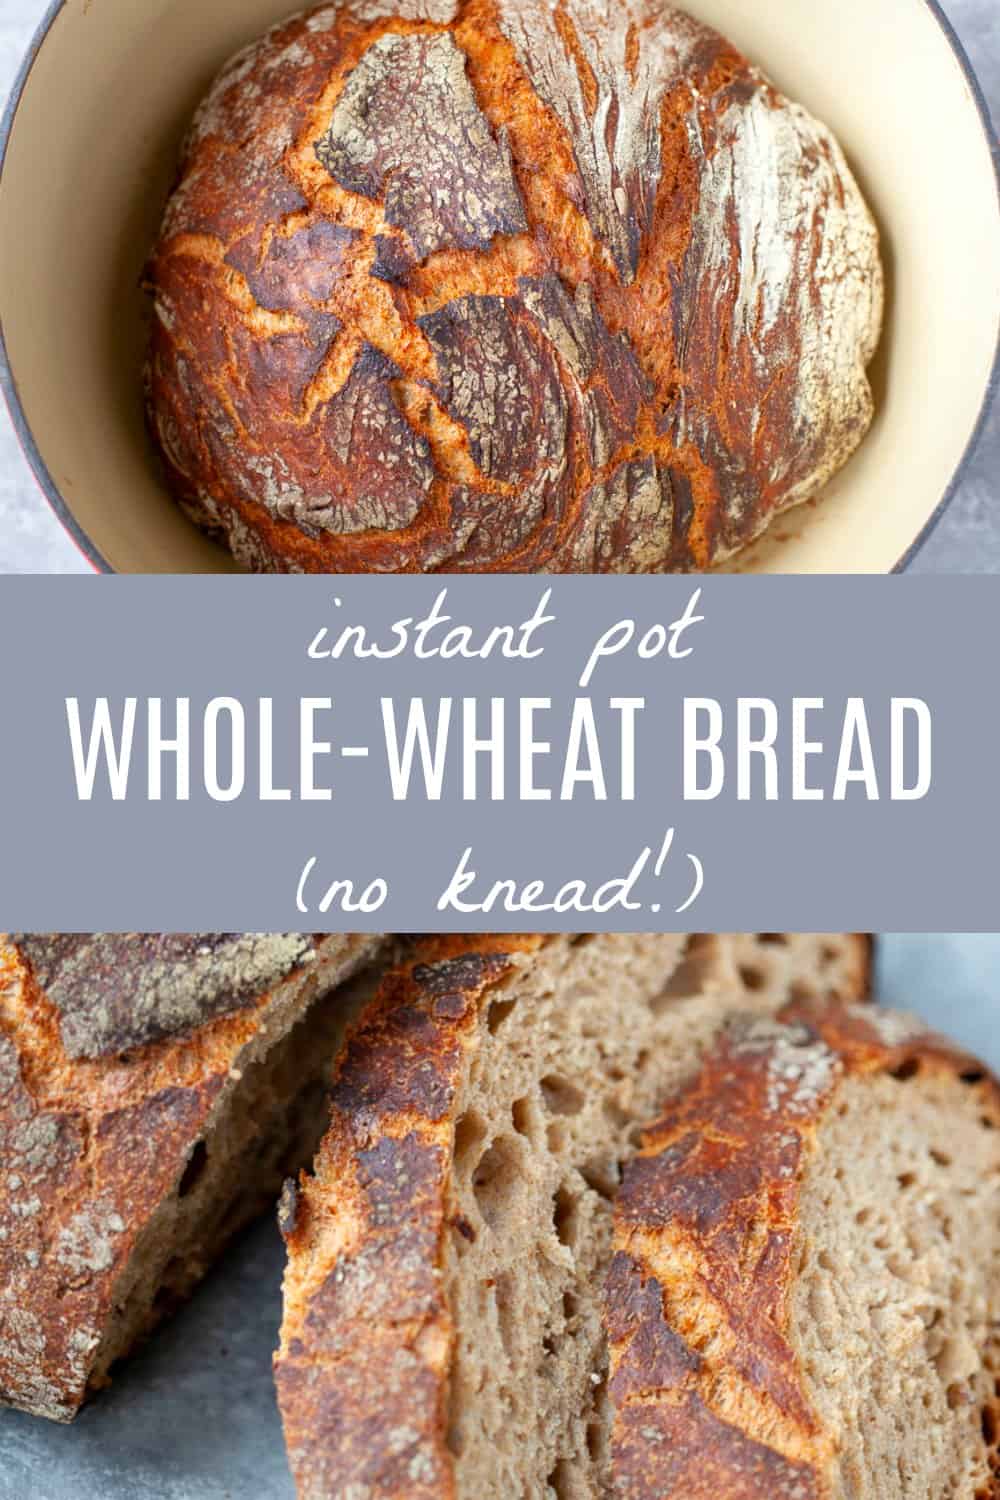
Tell me, have you ever tried no knead bread in your Instant Pot?
You May Also like
For more bread recipes, check out the links below!


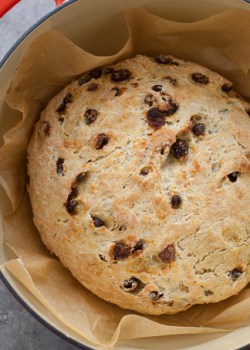

Regarding comments on the IP. You can easily use the stainless bowl from the IP. I line it with parchment paper and lightly spray with avocado oil. It rises just fine and slides out onto my slab. The half teaspoon of yeast doesn’t bubble but is foamy. I also use the parchment paper in the Dutch oven and there is almost no cleanup. I recommend a thermometer to make sure the final loaf is between 200 and 210 degrees.
Thanks for this, Steve! Great tips.
I LOVE this recipe! I use a 9 qt dutch oven and because of the size I had to lower my oven rack. It did cause the bread to burn a little on the bottom. Could I change the oven temp or time baked in the oven to prevent burning on the bottom? Also, when you use flour on work surface and on hands after it comes out of the IP, which of the two flours do you use? Thank you!
Hi there! You could try placing the dutch oven on a higher rack in the oven or you could place a baking sheet on the rack below the dutch oven to absorb some of the heat. Hopefully that helps! And I use all purpose flour for kneading. SO glad you love the recipe!!
Problem! Please help?! I just put 2 cups warm water and 2 T honey in with 1/2 tsp active dry yeast and it’s not bubbling after 15 minutes. Prior to that I tested another yeast packet (that was attached to the first) and it bubbled just fine. In my test I used the entire packet with 1/2 cup water and 1/2 tsp sugar. Question: Is there any way to use the bubbled yeast in this recipe, or do I have to start all over from scratch? I’m asking because I’m fresh out of honey! If no to the first question, can I use a honey substitute? First timer here… Thanks!
Hi Sally,
You can use sugar instead of honey! You may have to start from scratch since you used the entire yeast packet. You may also find that it doesn’t bubble as much as if you’d use an entire packet – as long as it’s foamy and cloudy, you should be okay!
It turned out to be very tasty but dense. My Dutch oven is smaller than yours so I halved the dough and made two. Turns out I didn’t need to. I’m going to turn the Instant Pot on low this morning and do one whole loaf. !
Thanks for the feedback, Rachel!
My Instant Pot has Low, Med & High settings for yogurt. I’m tempted to put on Med, which is 107°. I hope it works!
I’d use it in low mode! Let me know how it turns out!
My instant pot does not have a yogurt setting. Is there a workaround? Thanks.
Hi Michael – unfortunately there is no workaround 🙁
Making this right now. Does the lid get sealed or vented?
It should be set to sealed.
I don’t have a heatproof bowl that will fit in my IP; can I just use the stainless pot?
You could try it but I’ve never tested it that way so I’m not sure it would work the same. Do you have a glass bowl you can use? Please report back and let us know!
This horribly failed. The dough over flowed and spilled into the base of the instant pot, thinkfully it was plugged into one of those safety plugs which shut off the device instead of causing a fires since liquid is spilling out of the bottom. I followed all the directions, and used an 6 qt IP. The dough fit the same head space as the bowl pictured.
Given that the dough seeped through the bottom of the machine, since as instructed to remove the pot, it leaked through and is no longer usable.
Lindsay, I’m so sorry to hear about your horrible experience. I’m not sure how liquid could spill out of the bottom – it sounds like a manufacturing fail on the IP. I don’t know why or how liquid could spill out of the bottom. The only other thing I can think of is I have a 8 quart Instant Pot but I don’t think that should have made a substantial difference.
Hi Lindsay, I did some additional research here and updated the recipe based on your feedback to keep the pot and add the dough directly to the pot to rise to avoid any potential overflow. Again I’m so sorry for your experience. I ruined my IP once by following a Bon Appetit recipe so I understand the frustration.
What size is the Dutch oven? Thanks!
7.5 quart. Hope that helps!
Hey! I just tried making this yesterday and my bread came out super dense and heavy – any ideas or clues where I went wrong? The crust looked great and the taste is good, just the wrong texture and consistency.
This turned out amazing. Thanks for this recipe.
This bread looks like it needs to be my weekend plans! 🙂 I have one question – I’ve read that preheating empty enameled dutch ovens can be bad and I don’t know how much to trust that. It looks from the pictures like you have an enameled dutch oven – have you ever had any issues from this or does your dutch oven survive the pre-heating pretty well? I appreciate your thoughts! 🙂
Hi Marlies! I’ve never had issues with preheating my dutch oven. Hope you enjoy the bread!